The Ensoniq TS12 homepages |
||
|
unscrew the synthesizer |
9. Removing the hammersLay the metal keyboard bracket on its upper side (dont damage your table, your girlfriend might get angry...). After that, you can unscrew the marked screws. The hammers and the plastic brackets for the hammers are bead on two metal axes. The split point is just in the middle of the keyboard bracket. By unscrewing, be careful that the weight of the brackets and the hammers dont damage the last screw hole. There are anly two screws in three holes.
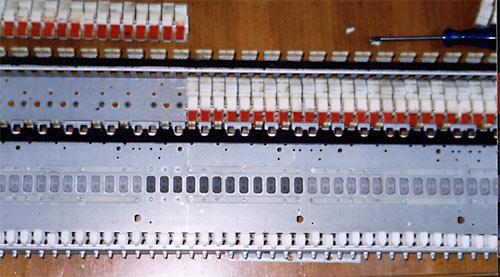
on the lower part of the upper picture you can see the circuit board of the rubber contacts.
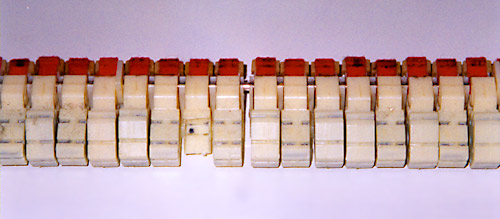
This picture shows the metal keyboard bracket with only the half of the hammers left. You can also see the rubber contacts. The gray of 12 contacts in the middle is darker, it's not the original rubber.
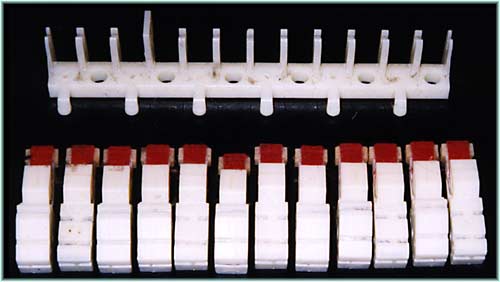
This are the hammers. The 7. hammer from the left is broken, this was the reason, why I've had to unscrew my TS12. The lead of this hammer was in my synthesizer withaout any fixing and made a pandemonium when I moved the TS12. You can pull the axis out of the hammer and the hammer brackets. Than it lookes like this:
Step ten: |
|